How to Clean Your Camera and Lenses – A Complete Guide for Beginners
Published: 02/10/2025
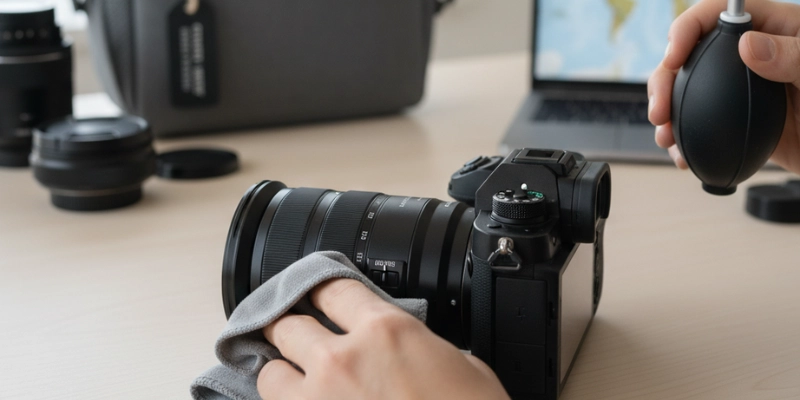
Keeping your camera clean is one of the simplest ways to protect your gear and capture sharp, clear photos. Dust, smudges, and fingerprints can build up on the lens, body, or even the sensor, and these can quietly ruin your pictures. The good news is that you don’t need to be a professional technician to handle basic cleaning. With the right tools, a careful approach, and a little patience, you can keep your camera in top shape.
This guide will walk you through how to clean your camera and lenses safely, step by step. It also explains what tools to use, what mistakes to avoid, and how to prevent dirt from building up in the first place.
So, Guys, let’s start.
Why We Need to Clean Cameras and Lenses?
A camera works best when it is clean. If dust or fingerprints get on the lens or sensor, your photos may look blurry or show small dark spots. This can ruin a beautiful travel photo or an important memory. That is why cleaning is not just about looks; it helps your camera take clear and sharp pictures.
This guide works for all kinds of cameras, like SLR, DSLR, and Mirrorless. It also helps, no matter which brand you use, such as Canon, Sony, Nikon, Fujifilm, Panasonic, or others. The cleaning steps are almost the same for all.
When you keep your camera and lenses clean, you protect them for a long time and make sure every photo, from big landscapes to close portraits, looks perfect.
General Notes About Camera Cleaning
Before touching your gear, it helps to understand what really gets dirty and how it affects your photos:
- Cleaning usually involves the protective glass layer over the sensor, not the sensor pixels themselves.
- Dirt may not always be visible. At wide apertures like f/1.8 or f/2.8, you might not notice anything, but at narrow settings like f/16 or higher, spots show up clearly in plain areas like skies or walls.
- Dust builds up faster if you change lenses often or shoot in dusty environments.
- A dirty sensor can spoil dozens of photos or videos if you don’t fix it in time.
- Sensor dust is different from viewfinder or mirror dust. Sensor dust shows in images, while viewfinder dust only shows when you look through the camera — it doesn’t affect the photo.
- If you keep seeing the same dark smudges or spots in your pictures even after wiping the lens, it’s usually the sensor that needs cleaning.
- Home cleaning works for most cases, but if you see oil, sticky residue, or if multiple cleaning attempts fail, it’s better to take the camera to a professional.
 Subscribe to my YouTube channel
Preparation Before Cleaning
Cleaning a camera isn’t something you should rush. Preparing well will keep your gear safe:
- Make sure your camera battery is at least 75% charged. This prevents the shutter or mirror from closing while the sensor is exposed.
- Work in a dust-free room. Wash your hands or, even better, wear gloves so you don’t transfer fingerprints or oil.
- Use a small flashlight to check for dust — but never use a laser pointer.
- Wipe the camera body, lens mount, and exterior first. That way, you don’t push extra dust inside during cleaning.
- If your camera has image stabilization, turn it off. Hold the camera face down or upside down, so gravity helps dust fall out.
- DSLR users should go into the menu and lock the mirror up to safely access the sensor.
The whole point of taking pictures is so that you don’t have to explain things with words.Elliott Erwitt
How to Check for Sensor Dirt
Sometimes dust isn’t obvious, so here’s a simple way to test if your sensor needs cleaning:
- Mount a wide-angle lens (around 24–30mm).
- Set the camera to f/22, ISO 100.
- Point at a plain white wall or screen.
- Focus on infinity, then defocus completely.
- Take a long-exposure photo, moving the camera slightly.
- Import the photo into editing software and increase contrast and clarity. Any dark spots you see are dust on the sensor.
- Shine a light into the sensor chamber to confirm.
- Repeat this test after cleaning to check the results.

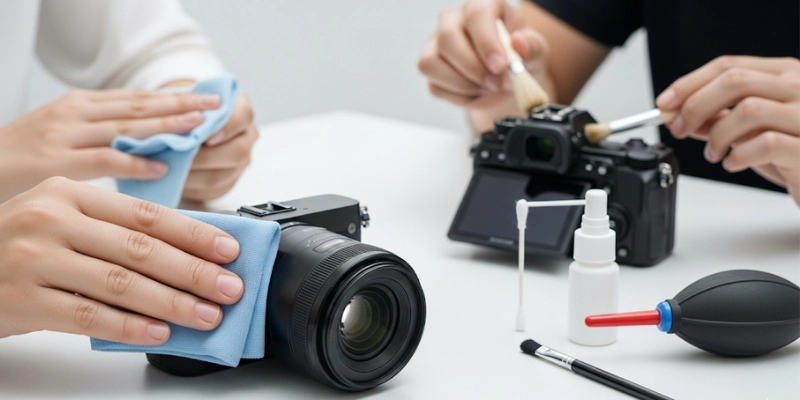
Equipment Needed
Don’t grab your T-shirt or random cloth — that’s a recipe for scratches. Use the right tools:
- Air blower (hand or rocket blower only — not compressed air cans or your mouth).
- Soft-bristled brush for the body (camel hair or clean old toothbrush).
- Sensor cleaning solution (replace yearly so it doesn’t leave residue).
- Sensor swabs sized for your camera (full-frame or APS-C).
- Lint-free microfiber cloths, lens tissues, or pre-moistened wipes (single-use preferred).
- Optional:
- Lens cleaning pen.
- Q-tips (for mirrors or viewfinders only, never for sensors).
- Branded cleaning kits like K&F Concept.
Step-by-Step Cleaning Process
Cleaning your camera and lenses may feel tricky, but following these clear steps will make the process safe, easy, and stress-free.
1. Run the Camera’s Built-In Sensor Cleaning
- Many cameras have a cleaning mode that vibrates the sensor to shake off dust.
- Run it once or twice before doing manual cleaning.
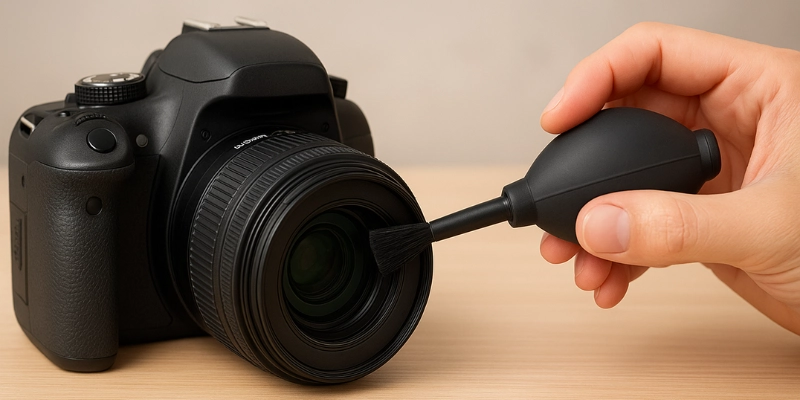
2. Use the Air Blower
- Remove the lens.
- Activate mirror lock-up or sensor-cleaning mode.
- Hold the camera face down.
- Use 5–10 short bursts with the blower close to, but not touching, the sensor.
3. Wet Cleaning (For Stubborn Dust)
- Take a fresh swab and apply 2–3 drops of cleaning solution on one side.
- Gently swipe across the sensor in one direction with light pressure.
- Flip to the dry side and swipe back the other way.
- Discard the swab after one use. Repeat with a new swab if streaks remain.
4. Lens Cleaning
- Put a drop of solution on a microfiber cloth (not directly on the lens).
- Wipe gently in straight lines.
5. LCD Screen Cleaning
- Remove the cover.
- Dampen a microfiber cloth with the solution.
- Wipe in straight lines, not circles.
6. Viewfinder and Mirror Cleaning
- Clean the outer glass with a slightly damp cloth.
- If dust is stuck inside, use a Q-tip lightly. (Never touch the sensor with it.)
7. Camera Body Cleaning
- Use a brush to sweep dust from crevices and buttons.
- Wipe the body with a microfiber cloth.
8. Final Step
- Use the air blower one last time.
- Test with another f/22 white-wall shot to confirm the sensor is clear.
| What to Do When Cleaning Your Camera and Lenses |
|---|
|
| What Not to Do When Cleaning Your Camera and Lenses |
|---|
|
Common Mistakes to Avoid
Even with the right tools, many people damage their cameras by handling and cleaning them the wrong way. Here’s why these mistakes can be risky:
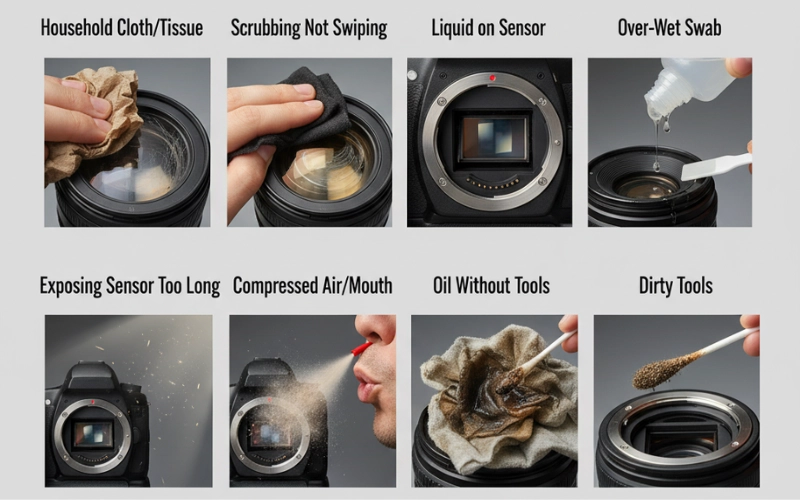
- Using household cloths or tissues: They have rough fibers that act like sandpaper, scratching delicate coatings.
- Scrubbing instead of swiping: Pressing hard or going back and forth spreads dust particles and creates streaks.
- Dropping liquid straight on the sensor: Excess fluid can seep into corners and damage electronics.
- Over-wetting swabs: Too much liquid leaves marks that are harder to remove than the dust itself.
- Exposing the sensor for too long: Every extra second with the sensor uncovered is a chance for new dust to settle.
- Using compressed air or mouth blowing: High pressure or moisture can push particles deeper inside or leave residue.
- Trying to remove oil without Pro Tools: Oil sticks to the sensor and often spreads, making the problem worse.
Conclusion
I hope this guide helps you feel more confident about cleaning your camera and lenses. At first, I also used to feel nervous, but once I learned the right way, it became much easier. Most of the time, I just use an air blower, and that’s enough for me.
My personal advice is to focus more on prevention than cleaning. Handle your camera gently, store it safely, and always change lenses quickly with the camera facing down. These little habits save a lot of time and trouble later.
For me, my camera is not just a tool; it’s a travel partner. When I take care of it, it gives me sharp, clear photos that hold my best memories.
So, don’t worry too much. Be patient, use the right tools, and treat your camera with care. I’m sure you’ll see the difference in your photos, and your camera will thank you with long-lasting performance.
If you found this guide on how to clean your camera and lenses useful, share it with other photography lovers and let me know your own cleaning tips in the comments.
FAQs About Cleaning Cameras and Lenses
Only when you see spots in photos. Over-cleaning can cause wear.
No. They leave fibers and can scratch the glass. Always use microfiber cloths or lens tissues.
Never. The high pressure can damage the sensor and blow propellant inside.
That requires professional service. Don’t try removing oil at home.
Only use approved lens cleaning solution. Household alcohol can damage coatings.
Yes, because the sensor is directly exposed when you change lenses.
Start with the built-in cleaning mode and an air blower before trying swabs.
If dust shows up in photos, it’s usually on the sensor. Lens dust is less visible in images.
Basic dust cleaning is safe at home. For sticky spots or streaks, go to a professional.
Carry a blower, microfiber cloths, and change lenses indoors or with your back to the wind.

- Be Respectful
- Stay Relevant
- Stay Positive
- True Feedback
- Encourage Discussion
- Avoid Spamming
- No Fake News
- Don't Copy-Paste
- No Personal Attacks
- Be Respectful
- Stay Relevant
- Stay Positive
- True Feedback
- Encourage Discussion
- Avoid Spamming
- No Fake News
- Don't Copy-Paste
- No Personal Attacks
